CLO-SET is optimized for the latest Google Chrome on a desktop PC(Windows 10) or Mac(macOS).

How to integrate CLO-SET Fitting Viewer with your web service

This document describes how to integrate CLO-SET Fitting Viewer with your web-based services such as an online mall. It starts with uploading the styles into an Assortment Room as a preparation step. If you already finished this step, you may proceed to the second part - Viewer UI options.

  1. 1. Prepare for Fitting
  2. 2. Set the viewer UI Options
  3. 3. Open the Viewer in your web page
  4. 4. Query String Specification
  5. 5. Save Avatar Information on your Web Service
  6. 6. Sync Shopping Bag and Like buttons with your Web Service

1. Prepare for Fitting

Upload the styles that you want to make available in the fitting viewer to an Assortment Room.

Screenshot with the prepare for Fitting step1

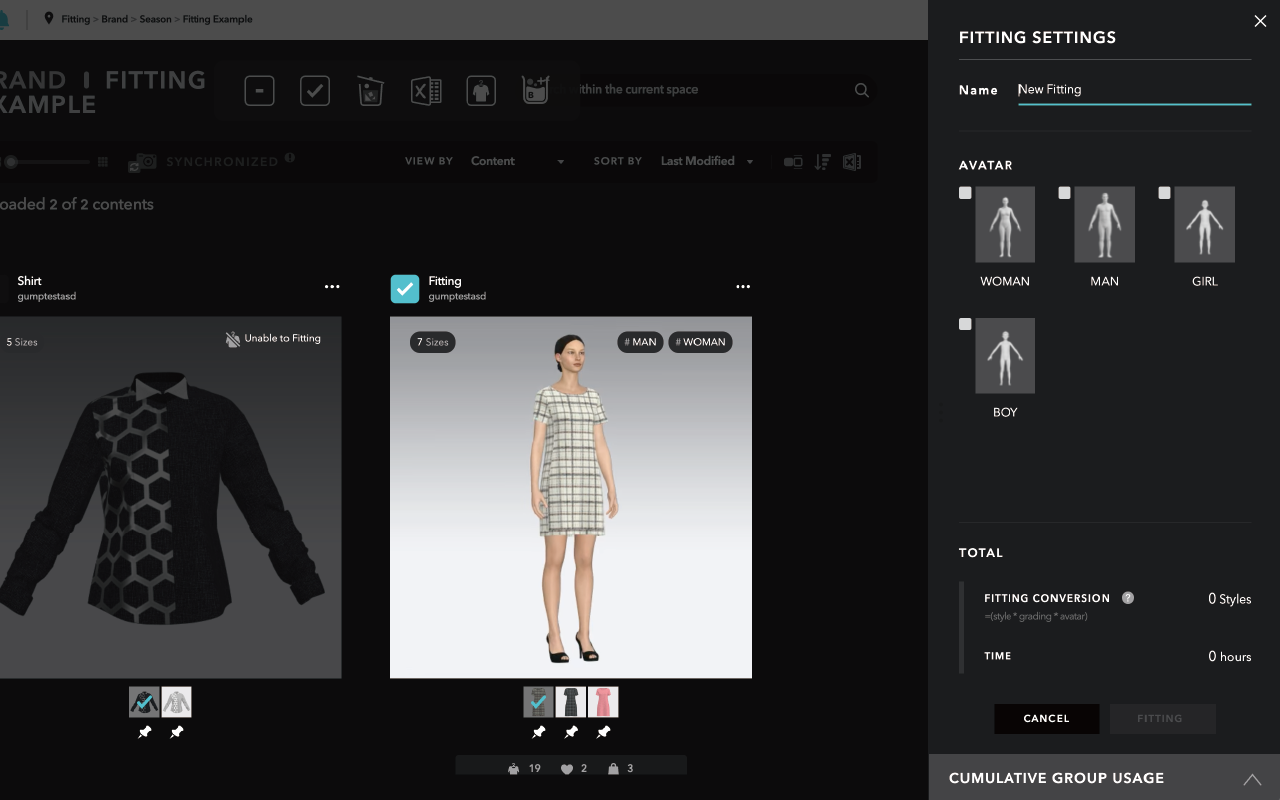
Click “Fitting” icon in the top menu which appears after selecting the style. Fitting Setting UI will appear on the right side where you can select the types of avatar. After you click “FITTING” button, CLO-SET begins to convert the style into “Fitting Available” data. The converting process is performed on multiple high-performance servers in parallel to optimize the performance of the fitting viewer when the end users try on the style. It normally takes a few hours per style size.

Screenshot with the prepare for Fitting step2

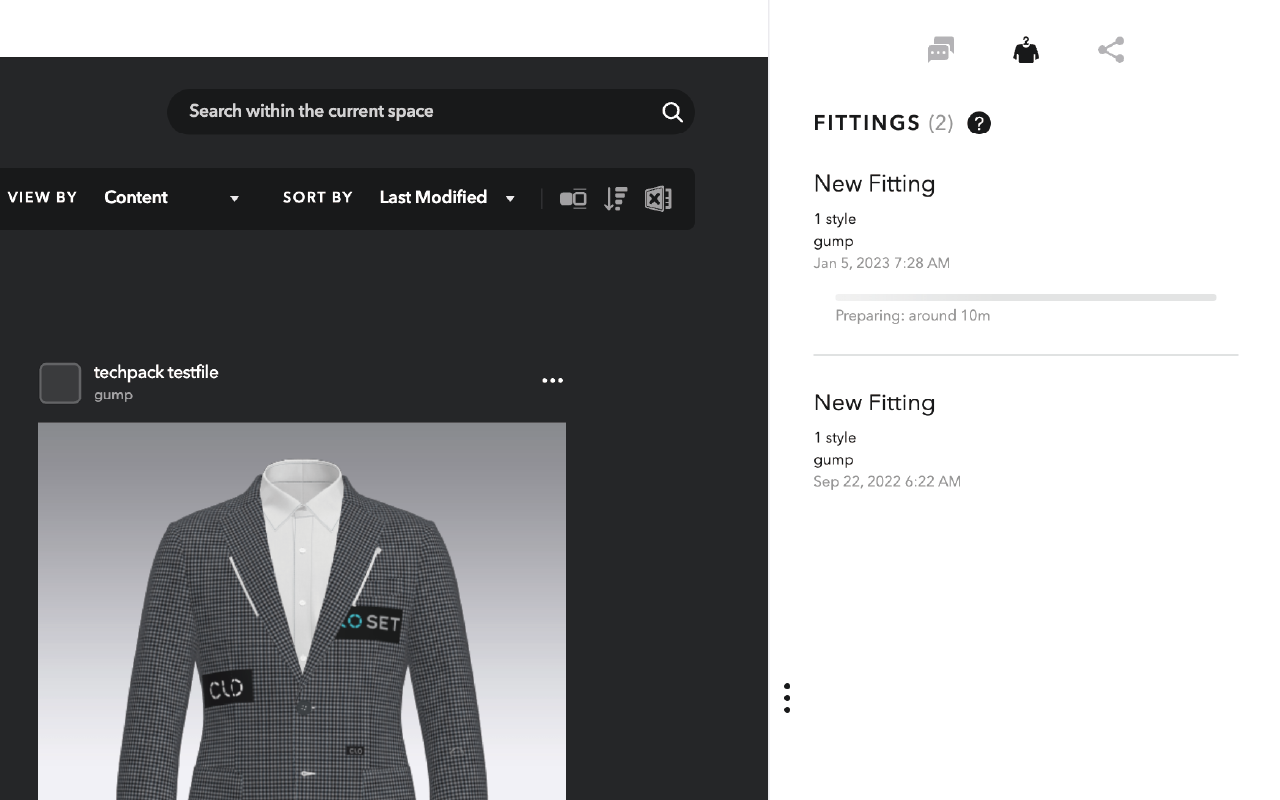
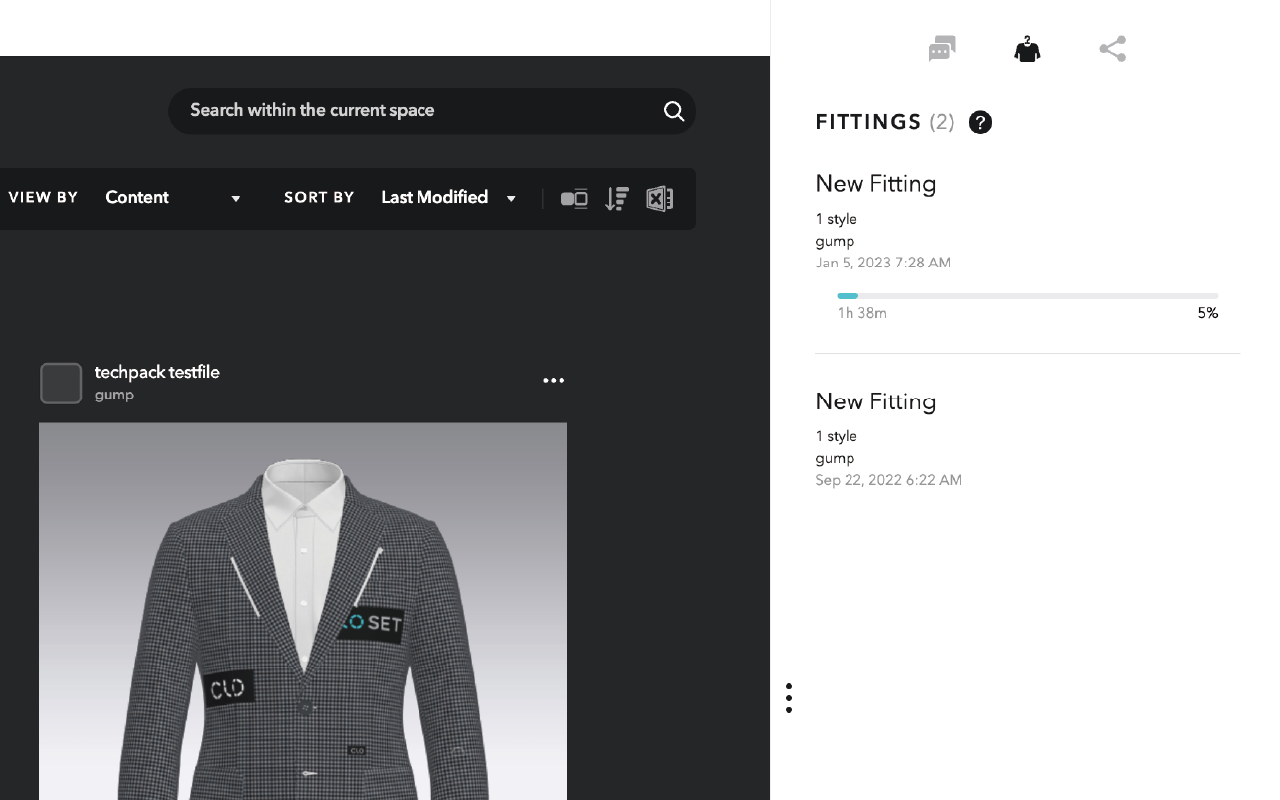
You can monitor the progress in the fitting tab.

Screenshot with the prepare for Fitting step3-1Screenshot with the prepare for Fitting step3-2

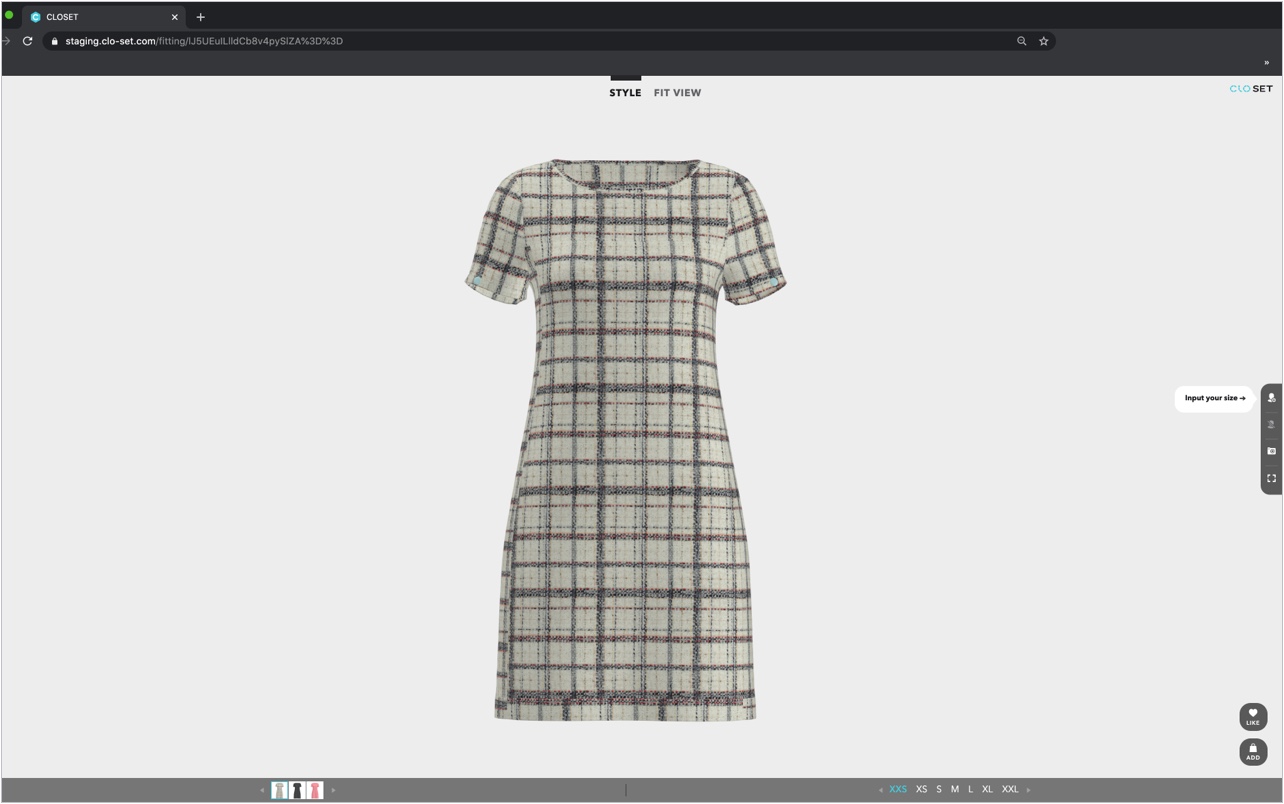
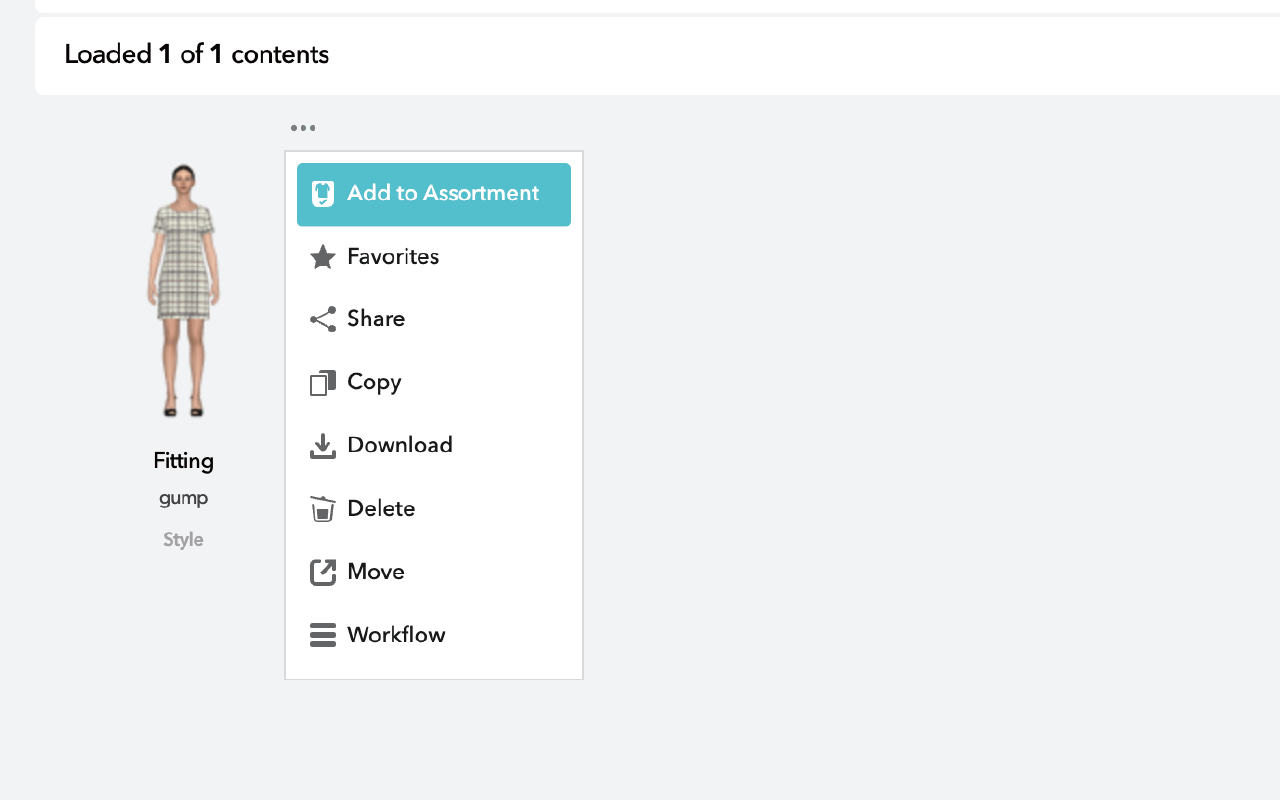
Once the converting is completed, you can select “Preview Fitting” in the context menu of the style to preview the converted results. A preview window will pop up.

Screenshot with the prepare for Fitting step4

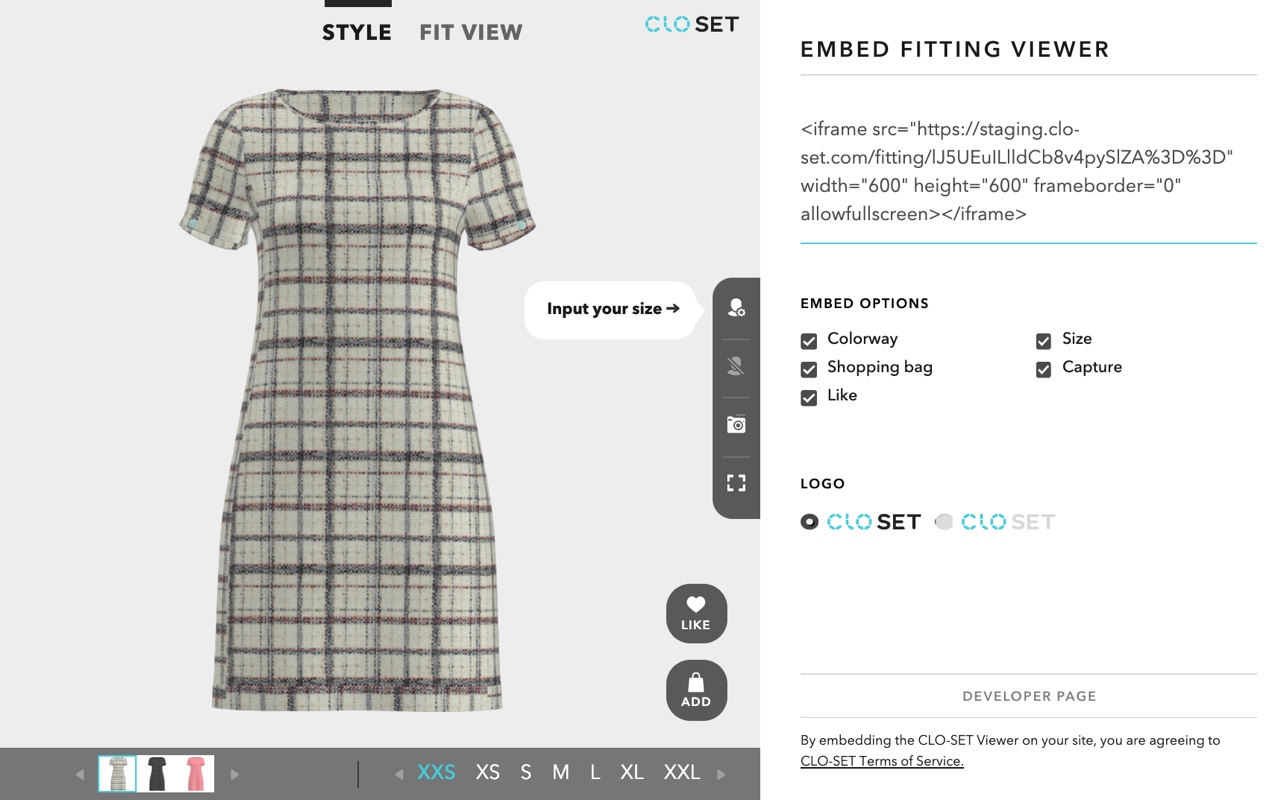
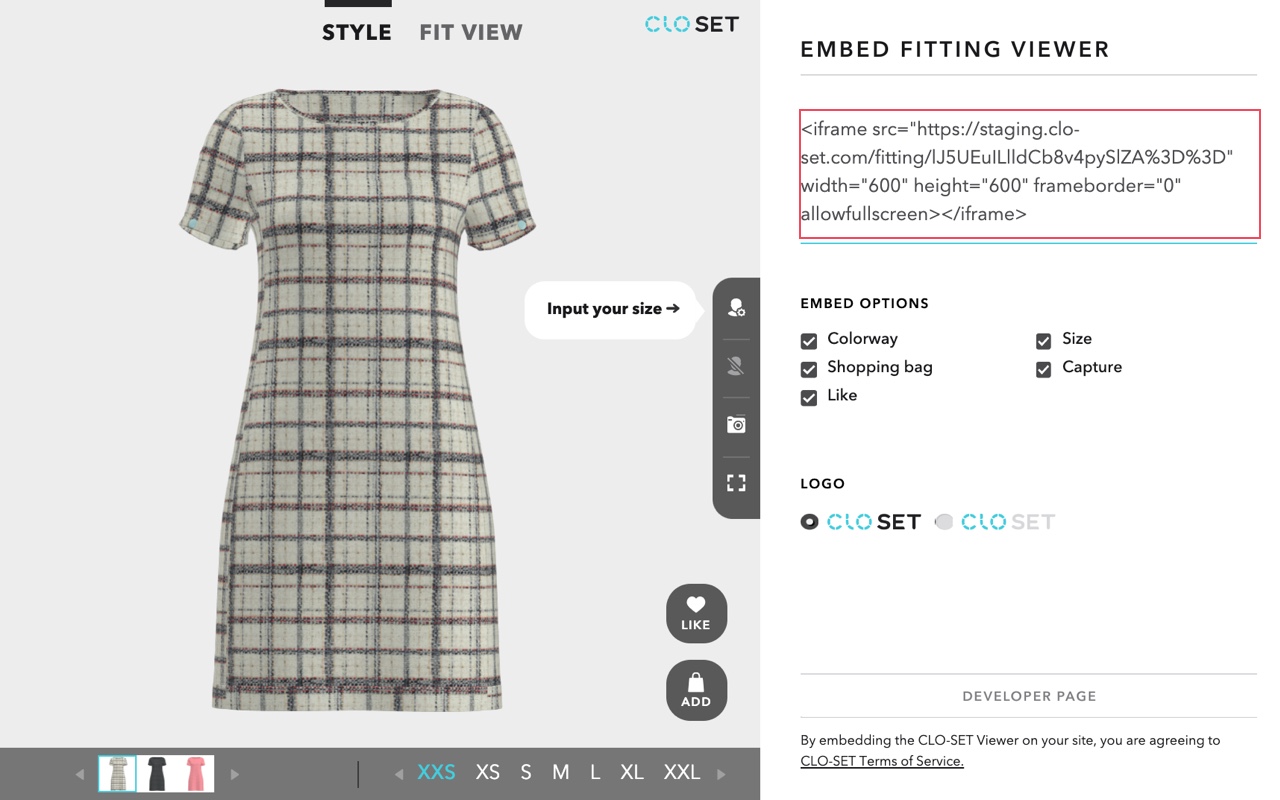
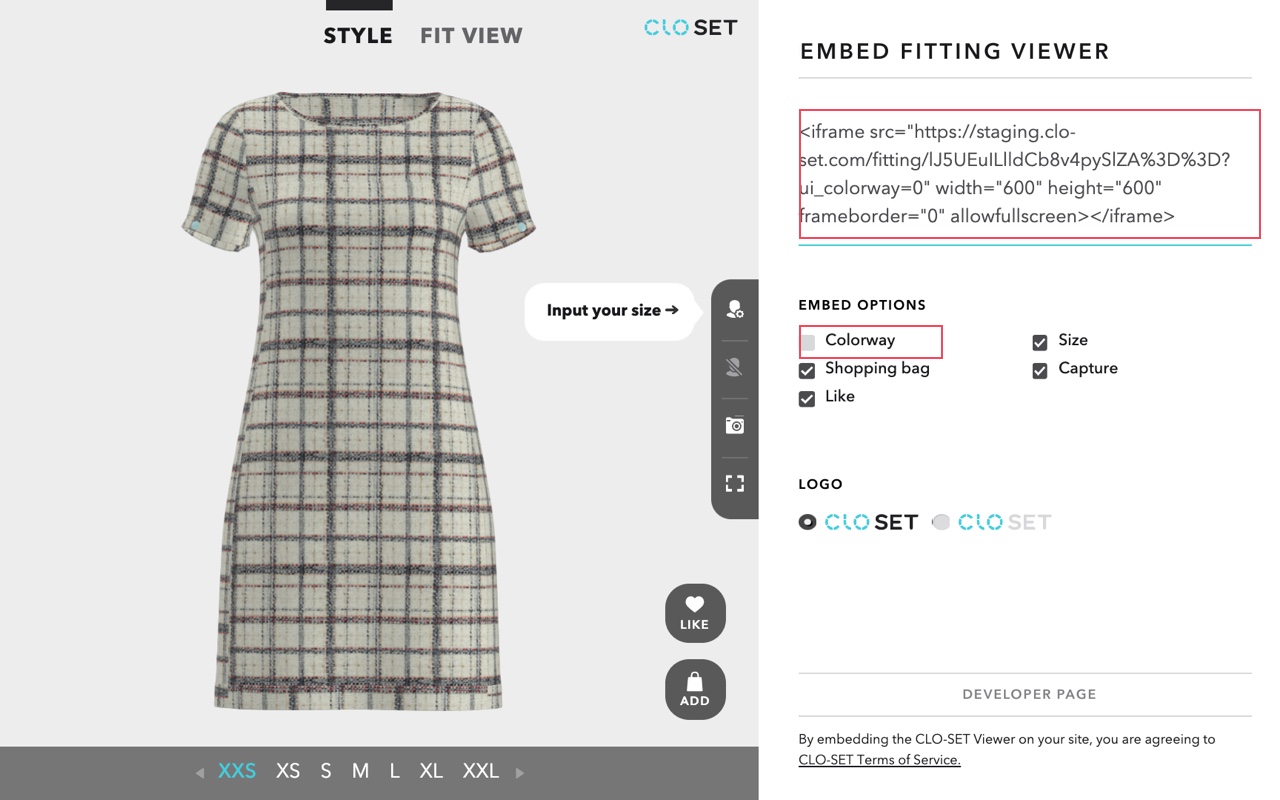
In the preview window, you can see the Fitting Style ID (marked in a red box in the screen shot below). This ID is used for embedding this fitting viewer into your web page.

Screenshot with the prepare for Fitting step5

2. Set the viewer UI Options

In the preview window, you can customize the UI options and get the corresponding iframe code as a result. You can see that the iframe code and UIs change when you change the options. Please note that the iframe code contains the URL including Query Strings with which you can set various inputs including UI options. You may check the detail about the Query Strings in the section 4.

Screenshot with the 'Colorway' option selectedScreenshot with the 'Colorway' option not selected

<top: Colorway UI is on, bottom: Colorway UI is off>

3. Open the Viewer in your web page

There are two ways to open the fitting viewer in your web page - 1) Embed and 2) Pop-up Window.

1) Embed

You can embed the viewer in your web page by inserting the iframe code that appears in the preview window to the html page as follows:

Sample iframe code

<iframe
    src="https://style.clo-set.com/fitting/sO15%2B%2F0YITvl0q9vrefpDQ%3D%3D"
    width="600"
    height="600"
    frameBorder="0"
    allowFullScreen
></iframe>

Sample HTML page

<!DOCTYPE html>
<html lang="en">
  <head>
    <meta charset="UTF-8" />
    <title>CLO-SET Fitting Iframe API</title>
  </head>
  <body>
    <iframe
      src="https://style.clo-set.com/fitting/sO15%2B%2F0YITvl0q9vrefpDQ%3D%3D"
      width="600"
      height="600"
      frameBorder="0"
      allowFullScreen
    ></iframe>
  </body>
</html>

Sample Viewer embedded in this page

2) Pop-up Window

It is easy to open the viewer as a pop-up window. You can simply set the URL of the new pop-up window as the URL that appears in the preview window.

Sample URL

https://style.clo-set.com/fitting/sO15%2B%2F0YITvl0q9vrefpDQ%3D%3D

Screenshot with open the viewer as a pop-up window

4. Query String Specification

When opening the viewer, you can set the variety of inputs by Query Strings besides the UI options.

colorway_idx: the index of the colorway you want to show when opening the fitting viewer. If the Query String is not specified, the default colorway is automatically selected. The default colorway is determined by the colorway saved in the garment file.

grading_idx : the index of the initial garment size you want to show when opening the fitting viewer. If the Query String is not specified, the default size is automatically selected. The default size is determined by the size saved in the garment file.

UI setting

  1. 1) ui_colorway: it determines whether to show Colorway UI or not. The value 0 turns off the UI and the value 1 turns on the UI. The default value is 1.
  2. 2) ui_size: it determines whether to show Size UI or not. The value 0 turns off the UI and the value 1 turns on the UI. The default value is 1.
  3. 3) ui_capture: it determines whether to show Screen Capture UI or not. The value 0 turns off the UI and the value 1 turns on the UI. The default value is 1.
  4. 4) ui_shopping_bag: it determines whether to show Shopping Bag UI or not. The value 0 turns off the UI and the value 1 turns on the UI. The default value is 1.
  5. 5) ui_like: it determines whether to show Like UI or not. The value 0 turns off the UI and the value 1 turns on the UI. The default value is 1.
  6. 6) ui_logo: it determines whether to show the black CLO-SET logo or the white. The value black and white each select the black and white logo respectively.

user_id (optional): you can set the ID of the customer of your shopping mall or web service. This ID will be passed to your web service when the customers change the avatar information, click Shopping Bag button or click Like button by the event handling method described in the section 5.

style_id (optional): you can set the style number/ID of your product. Similar to “user_id”, this value will be passed to your web service when the user interactions occur.

avatar_info (optional): it describes the gender type and body size data used when the viewer opens. If this value is not specified, the avatar is not shown in the viewer. There are two available formats - simple and detail.

  1. 1) simple
    {gender}_{skinType}_{height}_{weight}_{shapeType}.
  2. 2) detail
    {gender}_{skinType}_{height}_{weight}_{shapeType}_{chest}_{waist}_{hip}_{armLength}_{legLength}

    You may set the value as -1 for chest, waist, hip, armLength and legLength. Then, the values will be estimated from the standard avatar created by the gender, height and weight values.

  3. 3) gender
    • 0 : male
    • 1 : female
    • 2 : boy
    • 3 : girl
  4. 4) skinType
    • 0 : white
    • 1 : yellow
    • 2 : black
    • 3 : Skin ID
  5. 5) shapeType
    • 0 : default
    • 1 : hourglass
    • 2 : inverted triangle
    • 3 : round
    • 4 : triangle
  6. 6) Height : cm

  7. 7) Weight : kg

  8. 8) CHEST : cm

  9. 9) WAIST : cm

  10. 10) HIP : cm

  11. 11) armLength : cm

  12. 12) legLength : cm

is_liked (optional): you can set the default state of the liked button. The value 1 activates the button and the value 0 deactivates the button. The default is 0.

5. Save Avatar Information on your Web Service

You need to store the avatar information created or changed in the fitting viewer in your customer DB. This is because once you save the customer’s avatar information in the DB, the customer's avatar can be immediately displayed in the fitting viewer when the customer reopens the fitting viewer. For this, we provide the following event handling method.

When the customer completes the avatar creation and modification, the fitting viewer generates a corresponding window event. Then the web browser catches the event and calls the corresponding javascript callback function.

For Create Avatar event :
callback: ({ type: 'createAvatar', data: {avatarInfo, userId} }) => void
For Change Avatar event :
callback: ({ type: 'changeAvatar', data: {avatarInfo, userId} }) => void

Here, the values for avatarInfo and userId are the same as the values for avatar_info and user_id you passed to the query string of the viewer URL (described in the fourth part).

Now you can implement these callback functions in your web page. The following is an example of implementing the callback functions. Please note that you first need to load “closet_fitting_viewer_iframe_api.js” file to enable the event handling APIs.

6. Sync Shopping Bag and Like buttons with your Web Service

Your service needs to be informed when the customers click the Shopping Bag or Like buttons. In the same way as saving avatar information described in the previous section, the Fitting Viewer calls the corresponding javascript callback functions when the user clicks the Shopping Bag or Like button. By implementing this callback functions, you can identify which user clicks the Shopping Bag or Like button for which style, colorway, and size, and you will be able to save the information in your DB.

For Shopping Bag click event :
callback: ({ type: 'clickShoppingBag', data: {sizeIndex, colorwayIndex, user_id, style_id} }) => void
For Like click even :
callback: ({ type: 'clickLike', data: {sizeIndex, colorwayIndex, user_id, style_id} }) => void

Here, the values for user_id and style_id are the same as the values you passed to the query string of the viewer URL (described in the fourth part).

Please note that sizeIndex and colorwayIndex are the values selected when the user clicks the button in the viewer, not the initial values (grading_idx, colorway_idx) passed via the query string.